SpeedRunners 2 Wall Jumping
Edge mechanics, timing windows, and the recovery routes that save races.
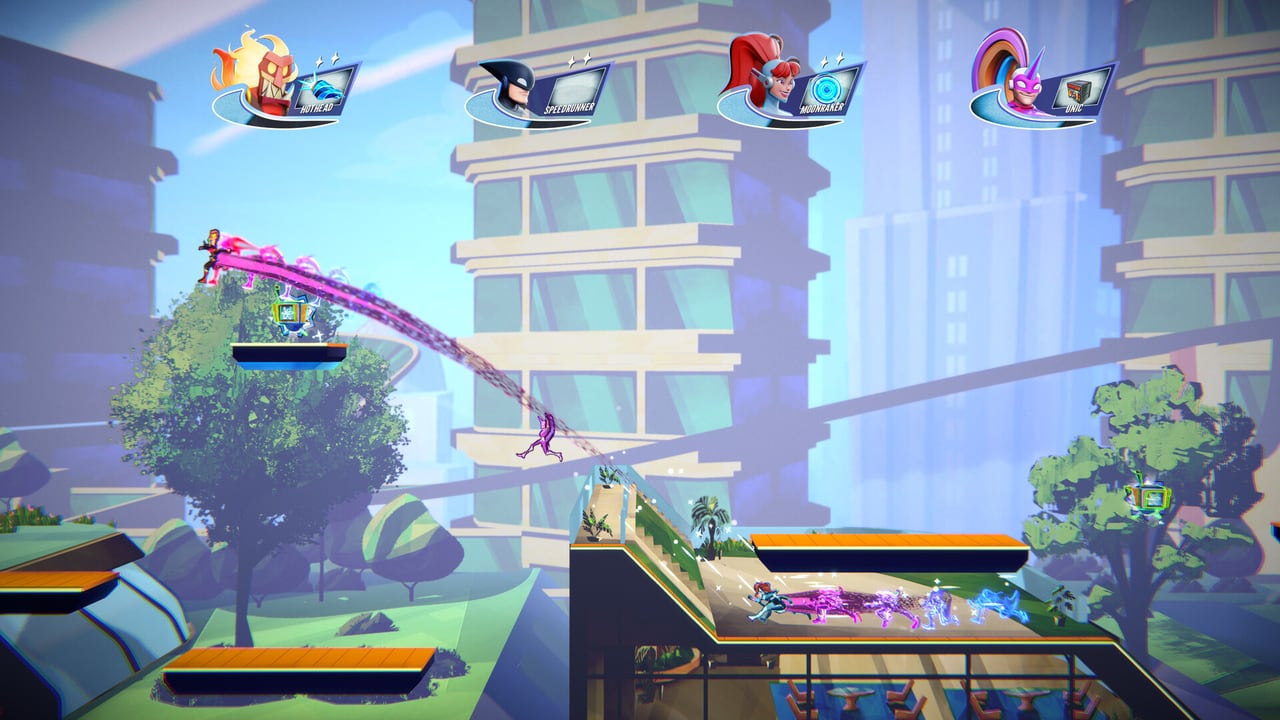
Wall jumping is one of the four core movement skills in SpeedRunners 2: King of Speed, alongside sliding, grappling, and boost pad timing. The Steam demo and the release build treat wall jumps as the only way to recover from a low-camera position without losing placement — because the moment the fire wall eats you, the race is over. Fair Play Labs’ movement design preserves the SpeedRunners 1 feel: jump toward a wall, hold direction toward the surface, and press jump again at the apex. The sequel adds more forgiving edge detection but tighter timing windows under item pressure.
Why wall jumping matters
Eight players share a single camera, and the camera is unforgiving. The moment you fall behind the pack’s screen edge, the fire wall catches up faster than sprint speed can close. A clean wall jump pulls you back two or three placements. A missed wall jump ends the race. The same principle applies to vertical recovery: many Maps include wall-jump chains between elevated sections that shorten the optimal lap by three or four seconds compared to the ground route.
The three inputs of a clean wall jump
- Approach angle. Hit the wall while still holding forward — if you slide or jump straight at it, your character will bonk and fall. Hold the stick or W toward the wall surface during contact.
- Jump input timing. Press jump on the same frame your character rebounds off the wall. Holding jump the whole time will not auto-trigger; the game waits for a fresh press at the rebound frame.
- Release and re-aim. As soon as the second jump fires, point the stick or W toward the next surface or the next boost pad. Hesitation costs height.
Common wall-jump mistakes
- Letting go of direction toward the wall. The most common death. Your runner falls straight down if you release the input during contact.
- Trying to wall jump on a slope. Slopes do not rebound; they slide. Use Boosts & Hazards for slope lines and reserve wall jumps for vertical surfaces only.
- Double-pressing too fast. A spam input misses the rebound frame. The correct cadence is one press on the rebound, then immediately a third press for the next apex if chaining.
- Wall jumping without a plan. Always know your next boost pad, grapple point, or pickup before you commit. Wall jumps burn vertical momentum; wasted jumps = lost placement.
Wall-jump drill (5 minutes)
Use the Steam demo offline practice lobby with bots:
- Pick a map with two adjacent vertical walls (every Demo Map has at least one such section).
- Run the wall-jump chain ten times in a row without touching a boost pad.
- Note how many times you bonk or fall. Aim for eight clean chains out of ten before queuing Ranked.
- Layer in a held item during step two. Wall jumping while carrying a freeze ray is a different timing curve.
- Switch to controller and repeat. If you normally play keyboard, the Rebind Tips page explains how to map jump to a shoulder button for analog feel.
Wall jumping versus grappling
A grapple pulls you forward and up; a wall jump pushes you up and to the side. In tight camera situations, a wall jump is faster because it does not cost a pickup slot and does not have a cooldown. Save the Golden Grapple for forward recovery between maps. Use wall jumps when you have already used your grapple and need vertical recovery right now. The Movement & Grapple hub covers the trade-off in detail.
Wall jumps in eight-player packs
In dense lobbies, item spam interrupts wall jumps. A missile fired at the apex of your second jump cancels the rebound and sends you into freefall. Workarounds:
- Listen for the missile-lock audio cue — see Audio Cues for what each item sounds like.
- Position your wall jump behind a column or platform so the missile hits geometry instead of you.
- Alternate wall-jump chains with slide-tunnel sections where missiles cannot track.
Advanced: slope wall chains
Some maps combine a slope and a vertical wall. The trick is to wall jump off the vertical wall, land on the slope for half a second of speed retention, then jump again to the next wall. The Advanced Tech page covers this in more depth; for now, the simplest version is: only attempt slope wall chains after the basic drill above hits eight out of ten.
Recovery after a missed wall jump
If you bonk, your options are:
- Golden Grapple — if you have one, fire it immediately toward the nearest blue ceiling.
- Slide — hold slide during the fall to retain horizontal speed and pray for a pickup line.
- Item panic — if you have a freeze ray or trap, fire it downward at the nearest pursuer to buy three seconds of camera recovery.
If none of those save you, take the loss and queue again. One bad race is data; five in a row means you are tired — see Local & Practice for a cool-down routine.
Pair with the rest of the toolkit
- Controls Hub for bind tuning
- Keyboard Controls for PC-specific rebinds
- Controller Layout for couch and Steam Deck
- Advanced Tech for slope wall chains and reverse wall jumps
- How to Win for placement-first race strategy
Wall jumping is muscle memory. Run the drill above for one session per day for a week and your ranked placement will jump noticeably by the weekend.
Frequently Asked Questions
Quick answers to the most common questions.
Can you wall jump in SpeedRunners 2?
Yes — wall jumping is one of the four core movement skills, confirmed in the Steam demo and the release build. It is the only way to recover vertical position when the camera edge is closing in.
How do you chain wall jumps?
Press jump on the rebound frame, hold direction toward the next wall, and press jump again at the next apex. Spam inputs miss the rebound window.
Do wall jumps work on slopes?
No. Slopes do not rebound — they slide. Use boost pads and grapples on slopes. Reserve wall jumps for vertical surfaces only.
Is wall jumping on controller different from keyboard?
Slightly. Most ranked players map jump to a shoulder button on controller so the thumbstick stays free for direction. See [Controller Layout](/controls/controller/) for the recommended bind.
When should I use the Golden Grapple instead of a wall jump?
Use the grapple for forward recovery between map sections. Use wall jumps for vertical recovery right now without spending a pickup slot. See [Movement & Grapple](/guides/movement-grapple/) for the full decision tree.